저는 게임을 좋아했습니다.
공부를 한다고 2년 정도 안하다가 최근 다시 시작했는데, 만들어보고 싶은게 생겼습니다.
유튜브를 보면 뽑기를 통해 강제로 특정 캐릭터를 올리는 룰을 진행하는데, 한 번 재밌어보여서 원랜디의 디스코드 봇을 만들어보고 싶어졌습니다.
큰 기능은 2가지로 생각했습니다.
- 뽑기 기능 - 특정 캐릭터를 뽑는 기능
- 코드 세이브/로드 기능 - 친구의 요청으로 넣게 된 기능
코드 세이브/로드 기능의 경우 notion API를 사용해보기로 하고, 서버는 사용량이 많지 않아 OracleCloud free tier를 사용하기로 결정했습니다.
1. Discord bot 등록
먼저 https://discord.com/developers/applications 로 들어가서 Application을 등록합니다.
Bot 메뉴에서 bot을 추가해주고 View Token 버튼을 눌러 토큰값을 어딘가에 잘 저장해두고 유출되지 않게 조심해야 합니다.

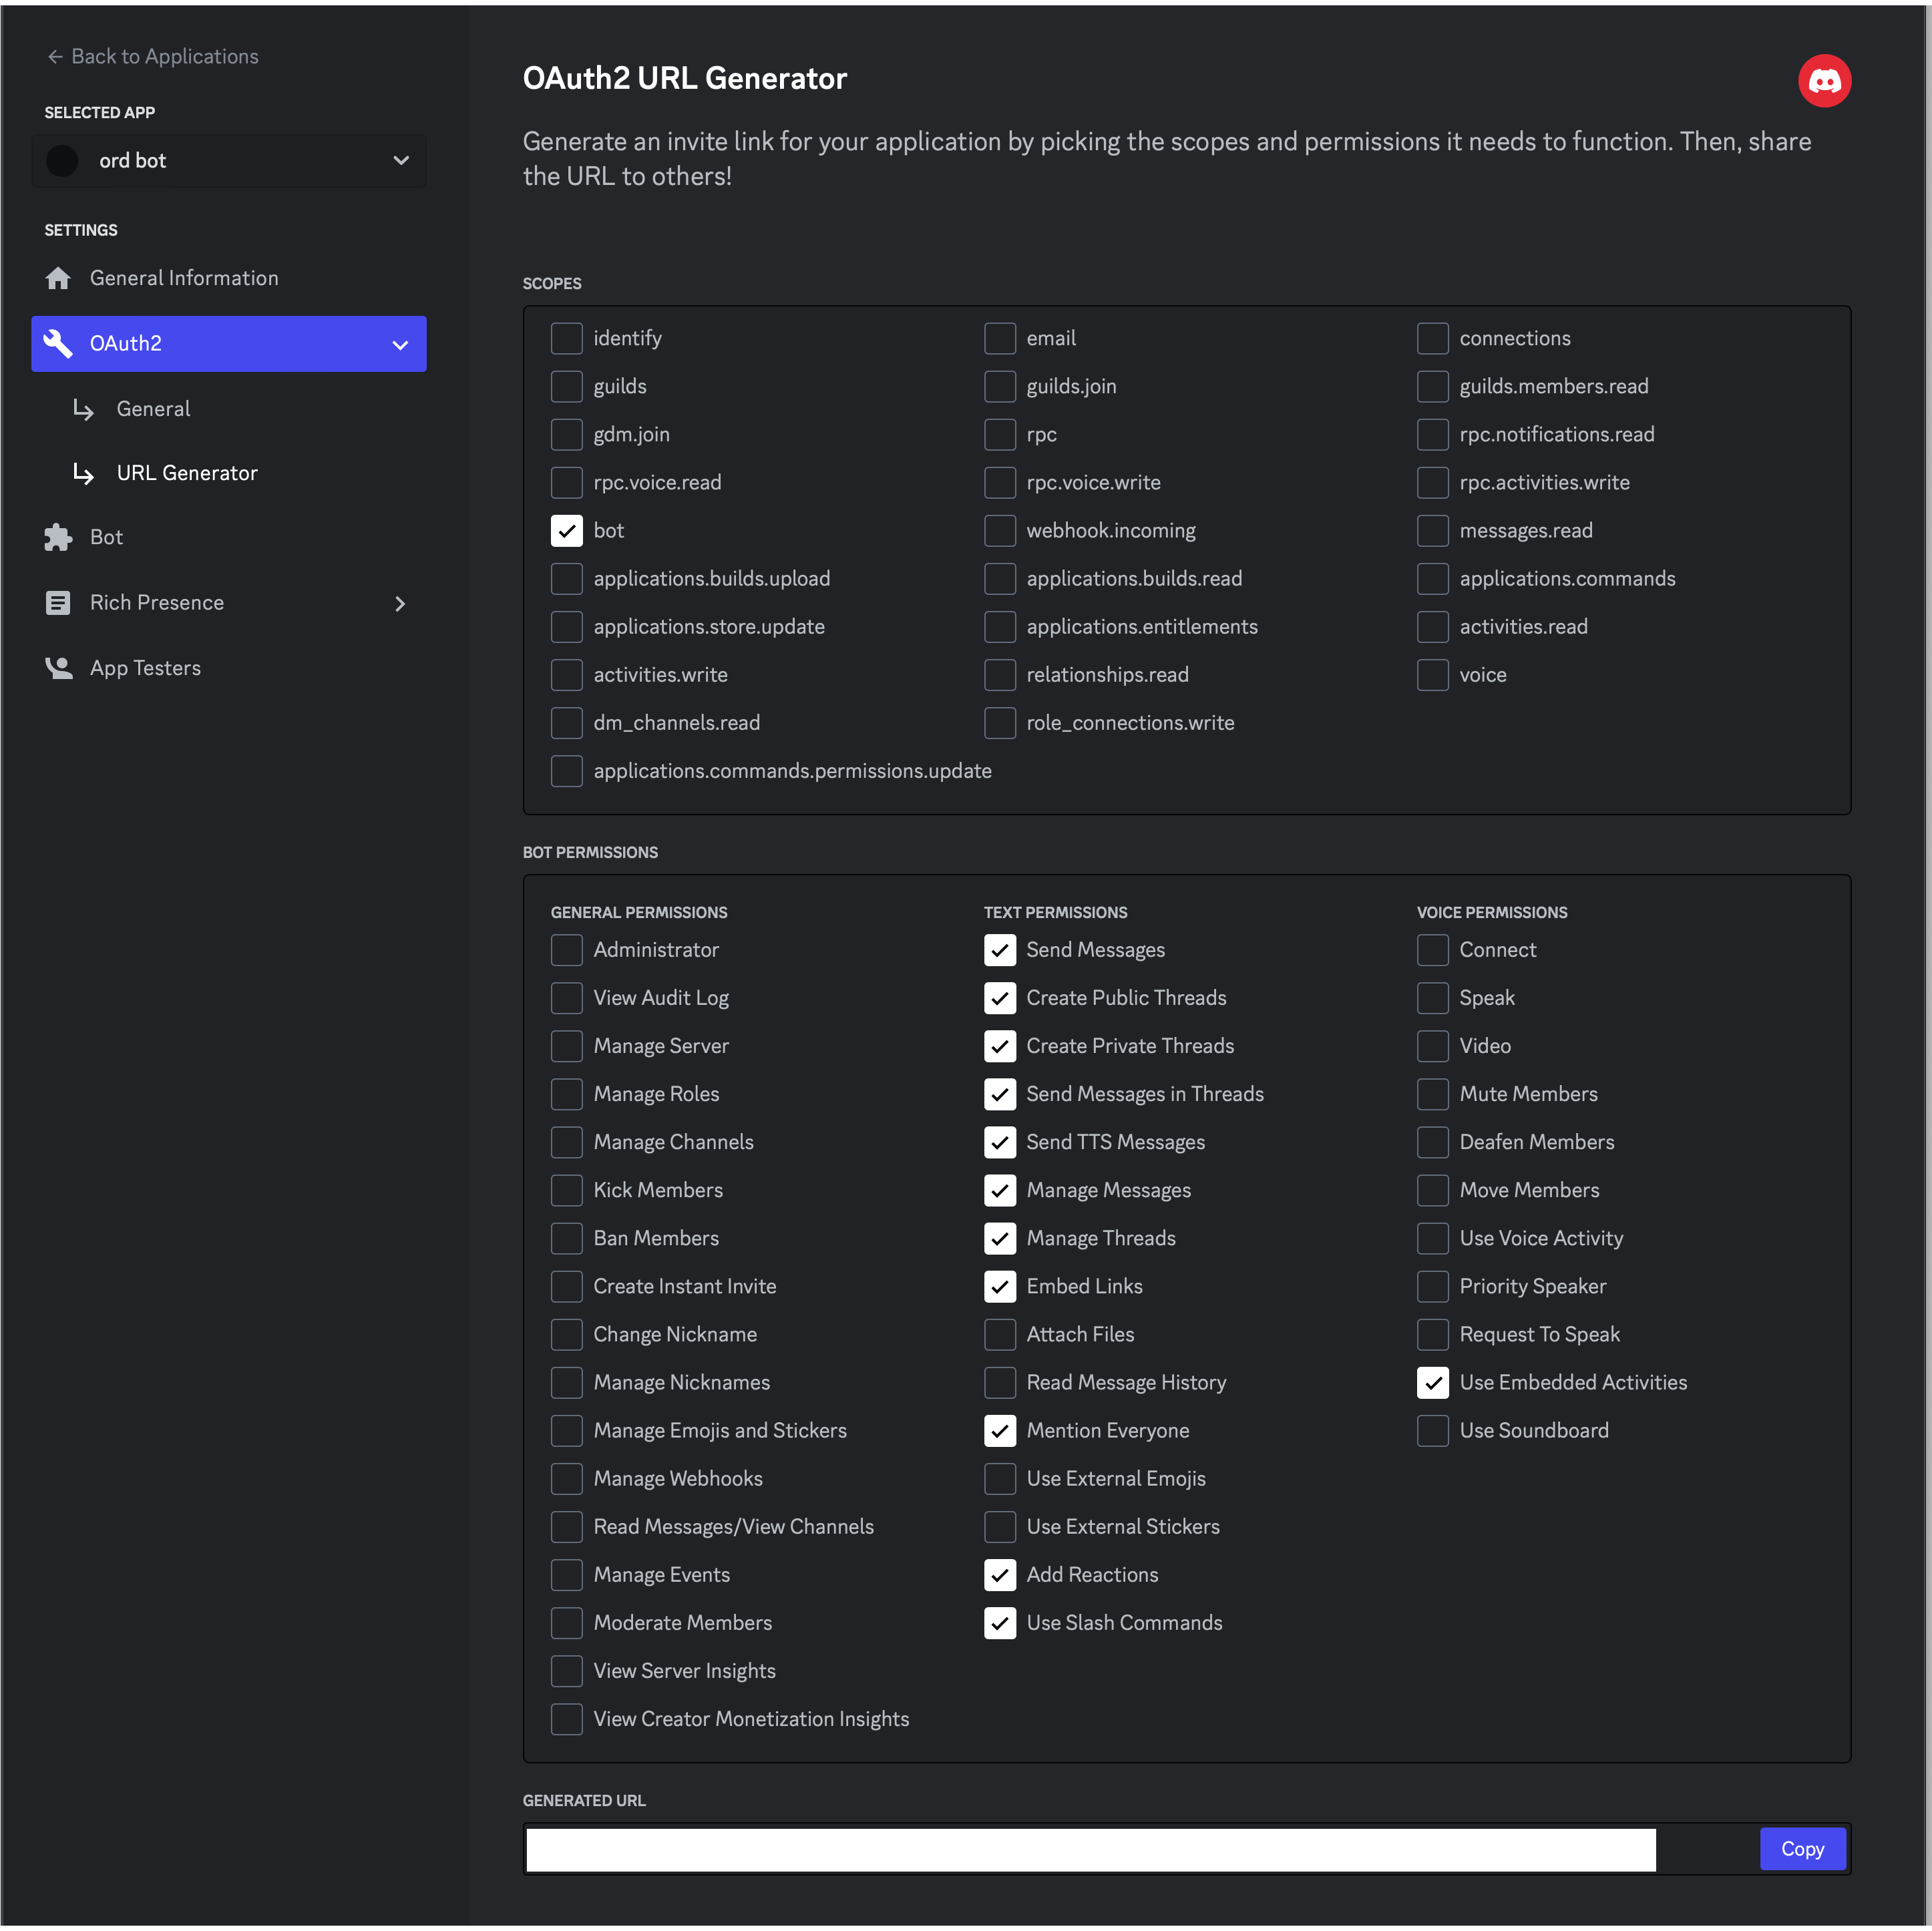
그 후 아래 사진과 같이 OAuth2/URL Generator 메뉴에서 권한을 선택하고 하단의 url을 생성하여 링크로 들어가면 봇을 서버에 추가할 수 있습니다.
2. Discord 코드 작성
먼저 npm init을 하여 프로젝트를 시작해주고 기본 정보를 작성해주고 npm install을 해줍니다.
npm i discord.js@12.5.3을 입력하여 discord.js를 설치해줍니다.
index.js 파일을 만들어주고
const Discord = require('discord.js');	// discord.js 라이브러리 호출
const client = new Discord.Client({ intents: ["GUILDS", "GUILD_MESSAGES"] })	// Client 객체 생성

// discord 봇이 실행될 때 딱 한 번 실행할 코드를 적는 부분
client.on('ready', () => {
    console.log(`Logged in as ${client.user.tag}!`);

});

client.on('message', msg => {
    try {
        if (msg.content.indexOf('!ping') === 0) {
            msg.reply('!pong');
        }
    }catch (e) {
        console.log(e);
    }
});
// 봇과 서버를 연결해주는 부분
client.login('${discord token 값을 넣어주세요}');
위와 같이 간단한 코드를 작성하여 뽑기 코드를 작성해주었습니다.
3. Notion API 연결
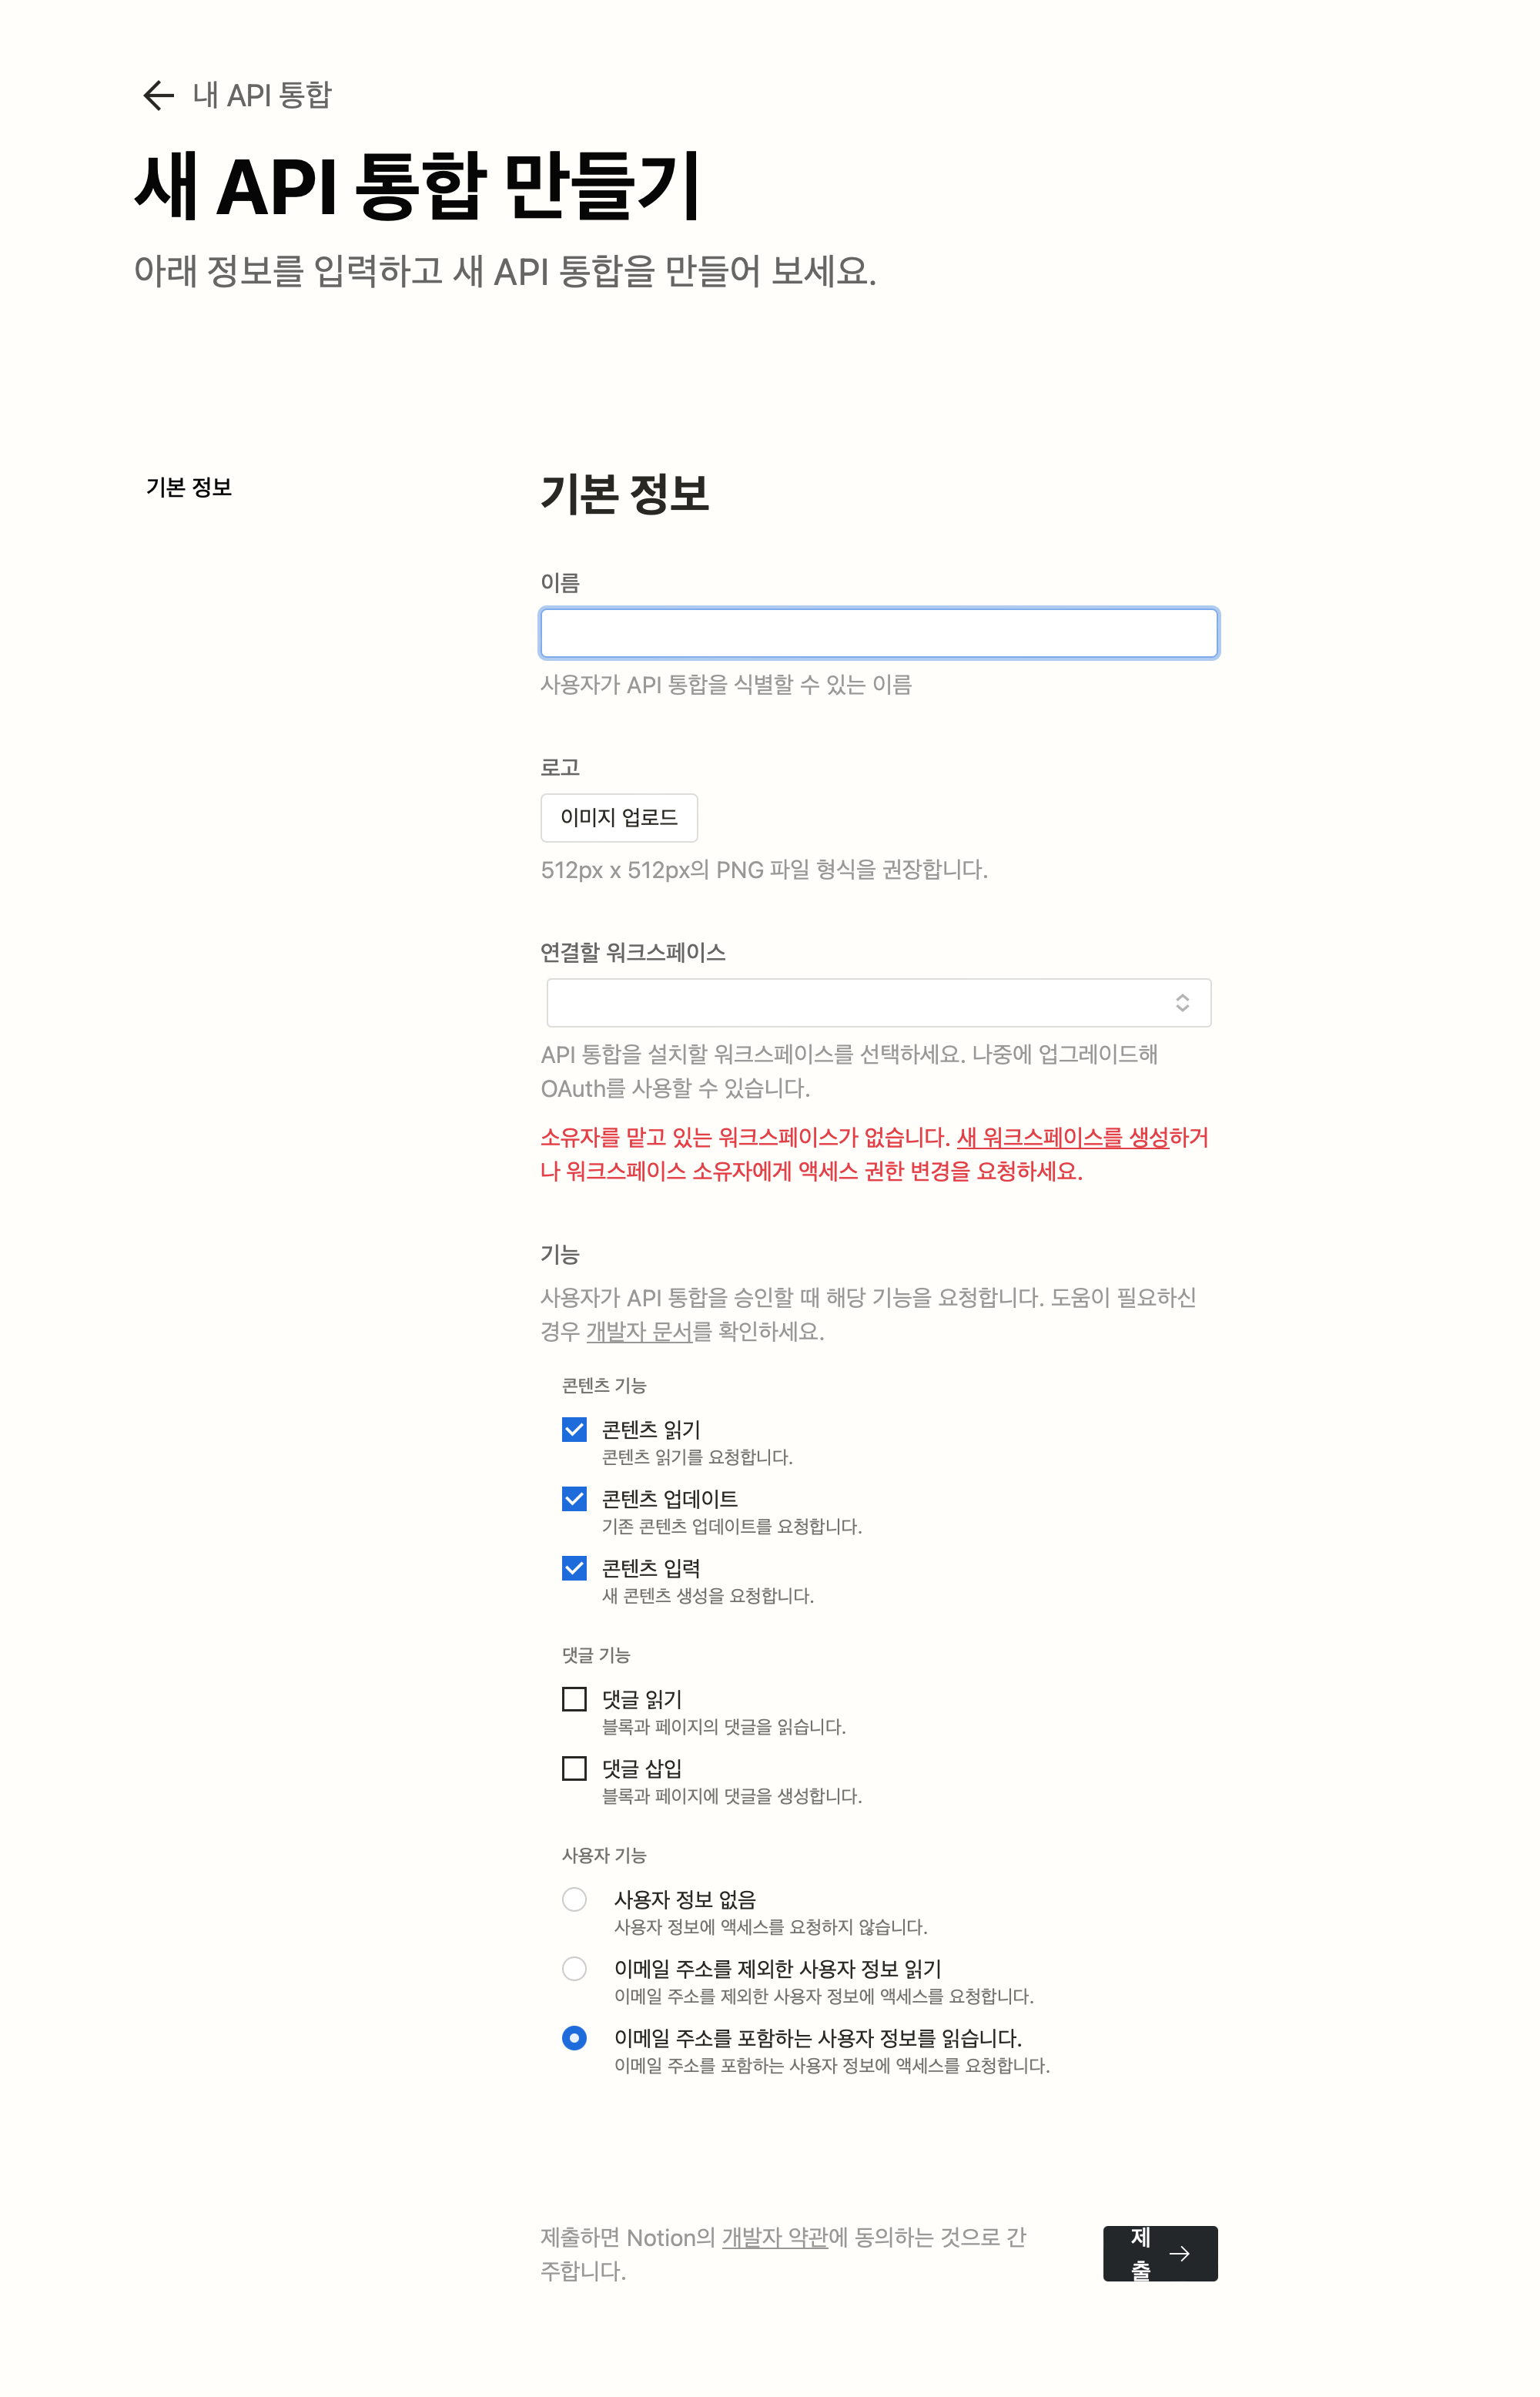
https://www.notion.so/my-integrations 로 이동하여 새 API 통합을 진행합니다. api 키 값을 잘 복사해둡니다.
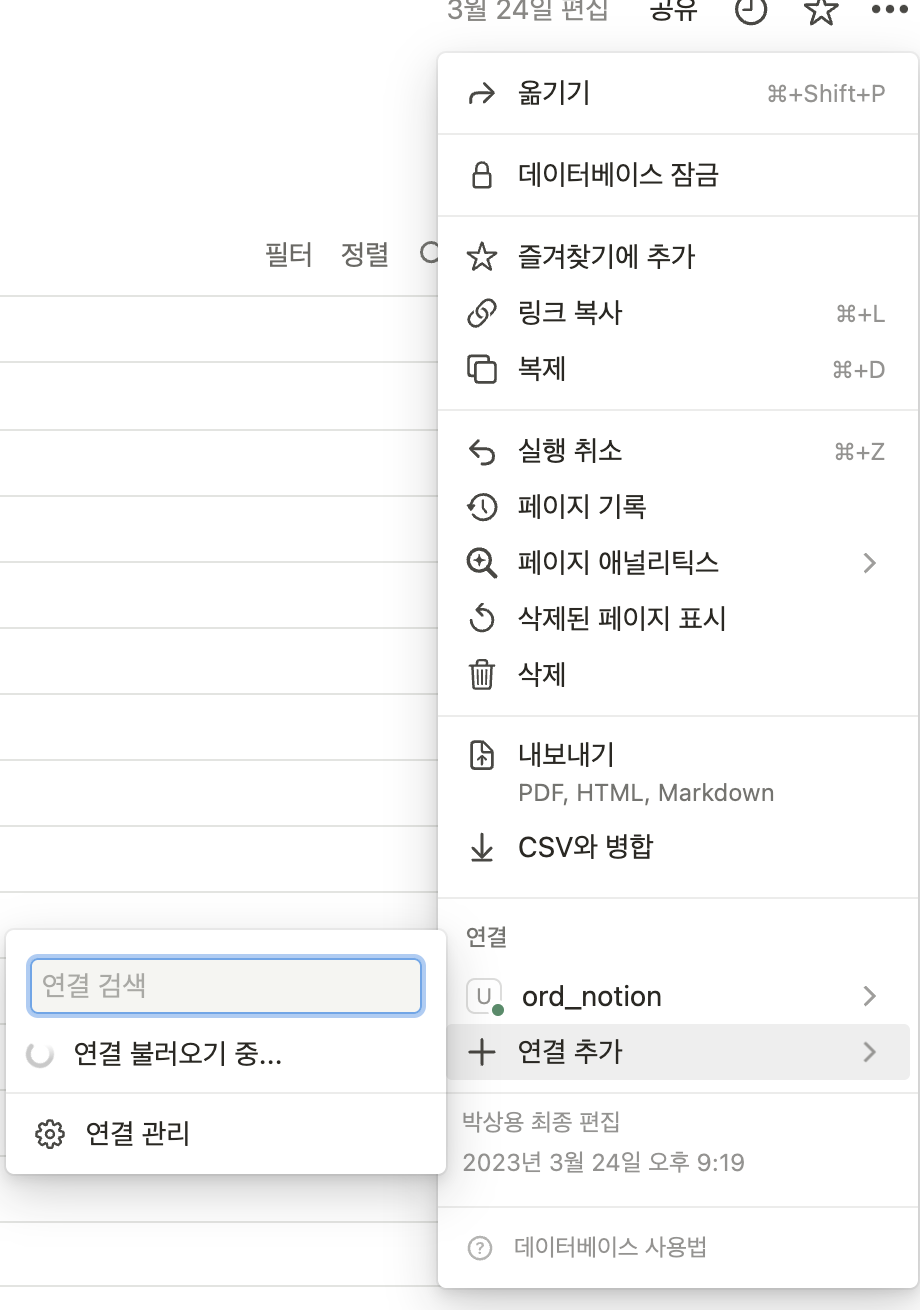
그 후 DB 페이지를 만들고 API와 연결을 해줍니다.
이후 링크 복사 시 https://www.notion.so/___?v=299c8&pvs=4
___ 위치의 값이 DB ID에 해당하는 값입니다. 잘 복사해둡니다.
index.js 위치로 다시 이동하여 npm install @notionhq/client와 npm install dotenv --save하여 notion api에 필요한 라이브러리를 설치해줍니다.
touch .env를 입력하여 .env 파일을 만들어주고
NOTION_API_KEY=""
NOTION_DATABASE_ID=""
형태로 편집해줍니다.
다시 index.js로 돌아가서 notion 과 연결해주는 코드를 추가하고 save, load 기능을 추가해 주었습니다.
const Discord = require('discord.js');	// discord.js 라이브러리 호출
const client = new Discord.Client({ intents: ["GUILDS", "GUILD_MESSAGES"] })	// Client 객체 생성
const { Client } = require('@notionhq/client');
const dotenv = require('dotenv');
dotenv.config();

const notion = new Client({ auth: process.env.NOTION_API_KEY });

// discord 봇이 실행될 때 딱 한 번 실행할 코드를 적는 부분
client.on('ready', () => {
    console.log(`Logged in as ${client.user.tag}!`);

});

client.on('message', msg => {
    try {
        if (msg.content.indexOf('!save') === 0){
            saveCode();
        }
        else if (msg.content ==='!load') {
            loadCode();
        }
    }catch (e) {
        console.log(e);
    }

    async function saveCode(){
        const code = msg.content.replace('!save','').trim();
        const user = msg.author.username;
        const response = await notion.pages.create({
            parent: {
                database_id: process.env.NOTION_DATABASE_ID,
            },
            properties: {
                코드: {
                    title: [
                    {
                        text: {
                            content: code,
                        },
                    },
                    ],
                },
                닉네임: {
                    select: {
                        name: user,
                    },
                },
            }
        });
        msg.reply('코드가 저장되었습니다.');
    }

    async function loadCode(){
        const user = msg.author.username;
        const response = await notion.databases.query({
            database_id: process.env.NOTION_DATABASE_ID,
            filter: {
              property: "닉네임",
              select: {
                equals: user,
              },
            },
            sort: [{
                property: "상태",
                direction: "descending"
            }],
            page_size: 1
        })
        const code = response.results[0].properties["코드"].title[0].text.content;
        msg.reply(code ? code : '데이터가 없습니다. 세이브를 해주세요.');
    }
});
// 봇과 서버를 연결해주는 부분
client.login('${discord token 값을 넣어주세요}');
이후 oracle cloud에 ftp를 통해 프로젝트를 옮겨주고
sudo npm install forever -g
sudo forever start index.js 를 실행하여 계속해서 실행되게 해주었습니다.
sudo forever list, sudo forever stop 0 명령어를 통해 관리할 수 있습니다.
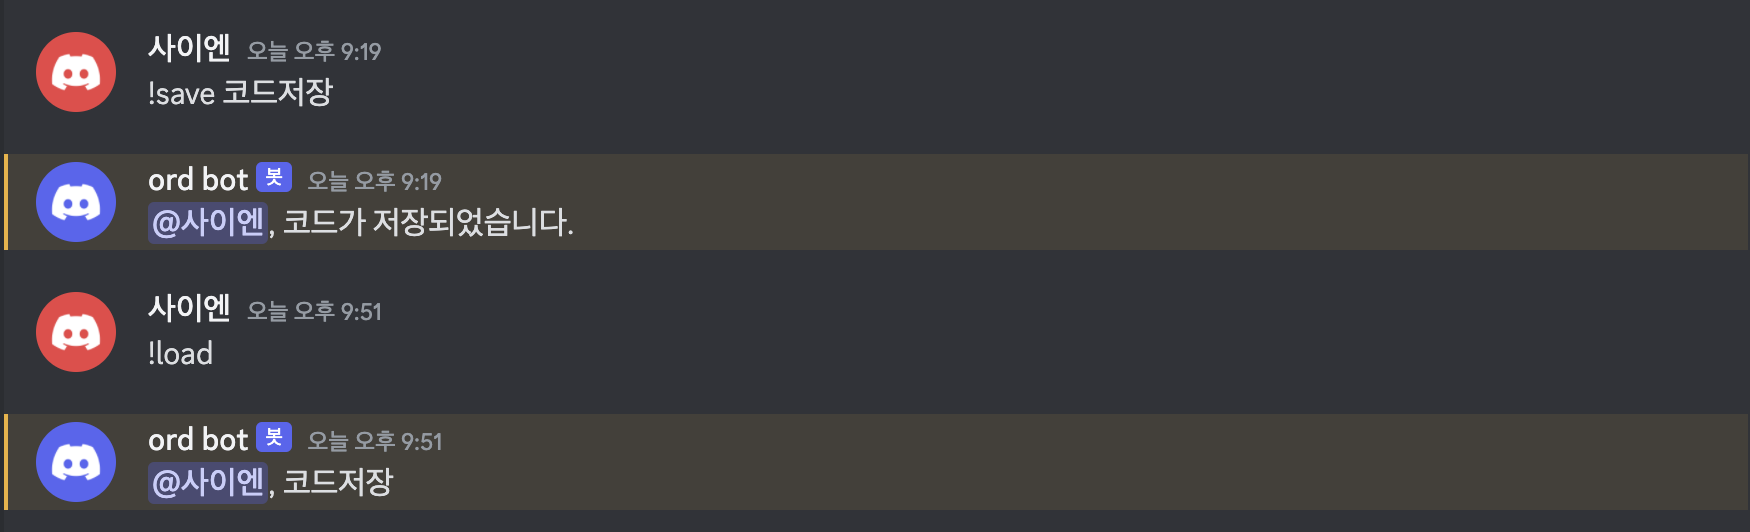
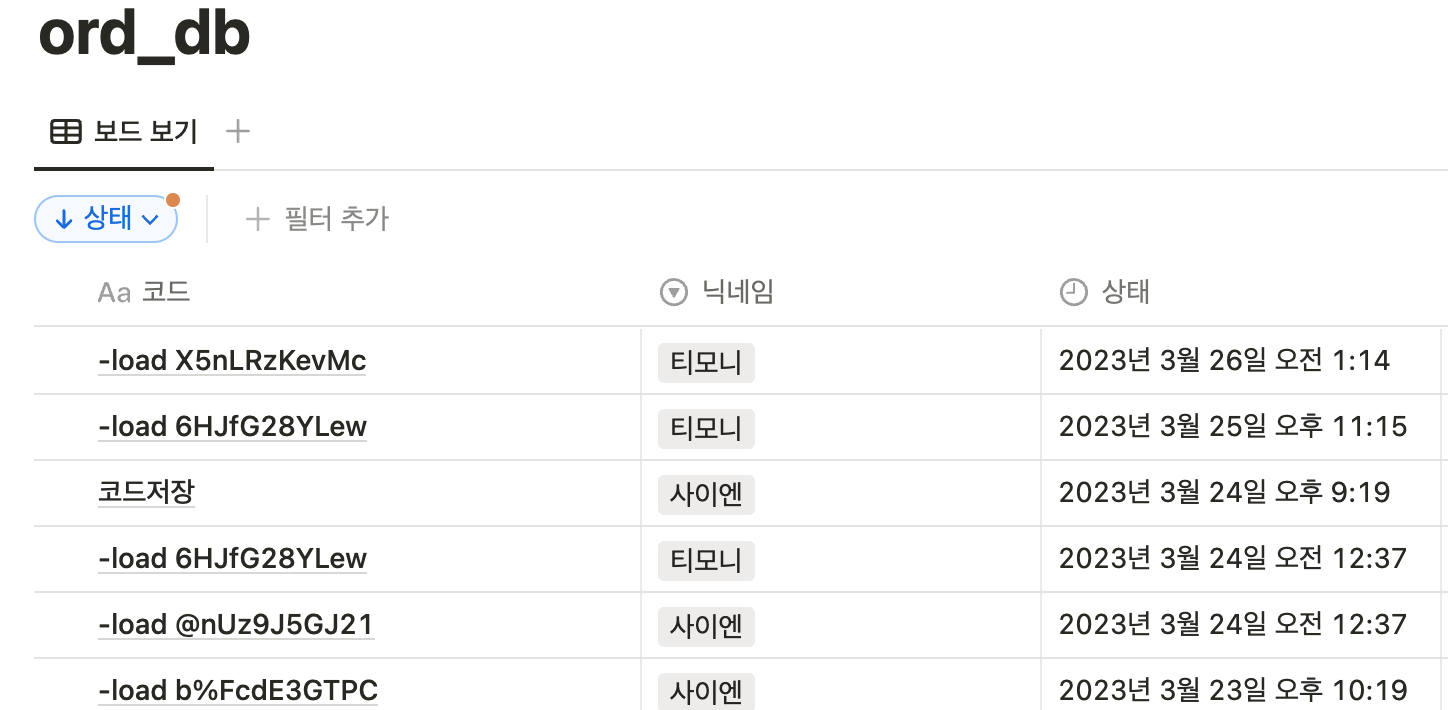
사진과 같이 잘 작동하는 것을 볼 수 있었습니다. 감사합니다.
댓글 (0)